See this article on the Zoom website for the most up-to-date information.
How to set up scheduling privilege
- Sign in to the Zoom web portal via the Compass Tool Selector
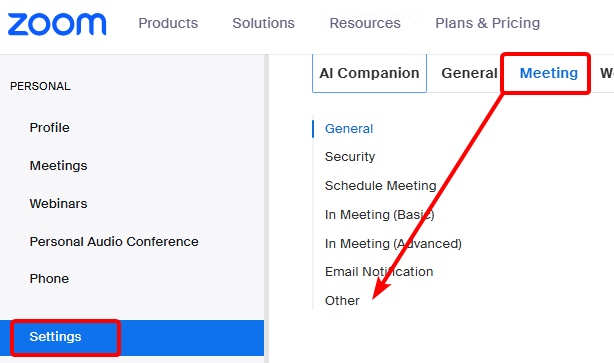
- In the navigation menu, click Settings.
- Click the Meeting tab.
- Under Other, locate Schedule Privilege.
- Next to Assign scheduling privilege to, click Add.

- Under Users, enter a username or email address in the text box.
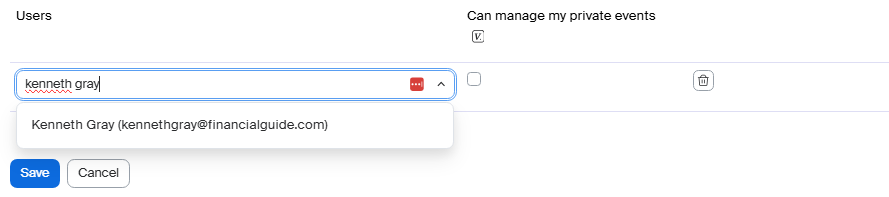
- (Optional) Click Add to add more users or email addresses to assign scheduling privilege.
Note: There is no limit to how many users can be assigned scheduling privilege, but it may appear that you are limited to just 6 users. After clicking Add, scroll the list to view additional rows to assign scheduling privilege. - (Optional) Select the Can manage my private events check box if you want a user(s) to manage your private events and view their details.
Note: Users with scheduling privilege will see private events but with details hidden if they are not allowed to manage your private events. - Click Save.
If the user was assigned successfully, they will appear under Assign Scheduling Privilege to. However, they will need to sign out of the Zoom desktop client and sign in again before they will be able to schedule for you.
Was this article helpful?
That’s Great!
Thank you for your feedback
Sorry! We couldn't be helpful
Thank you for your feedback
Feedback sent
We appreciate your effort and will try to fix the article